
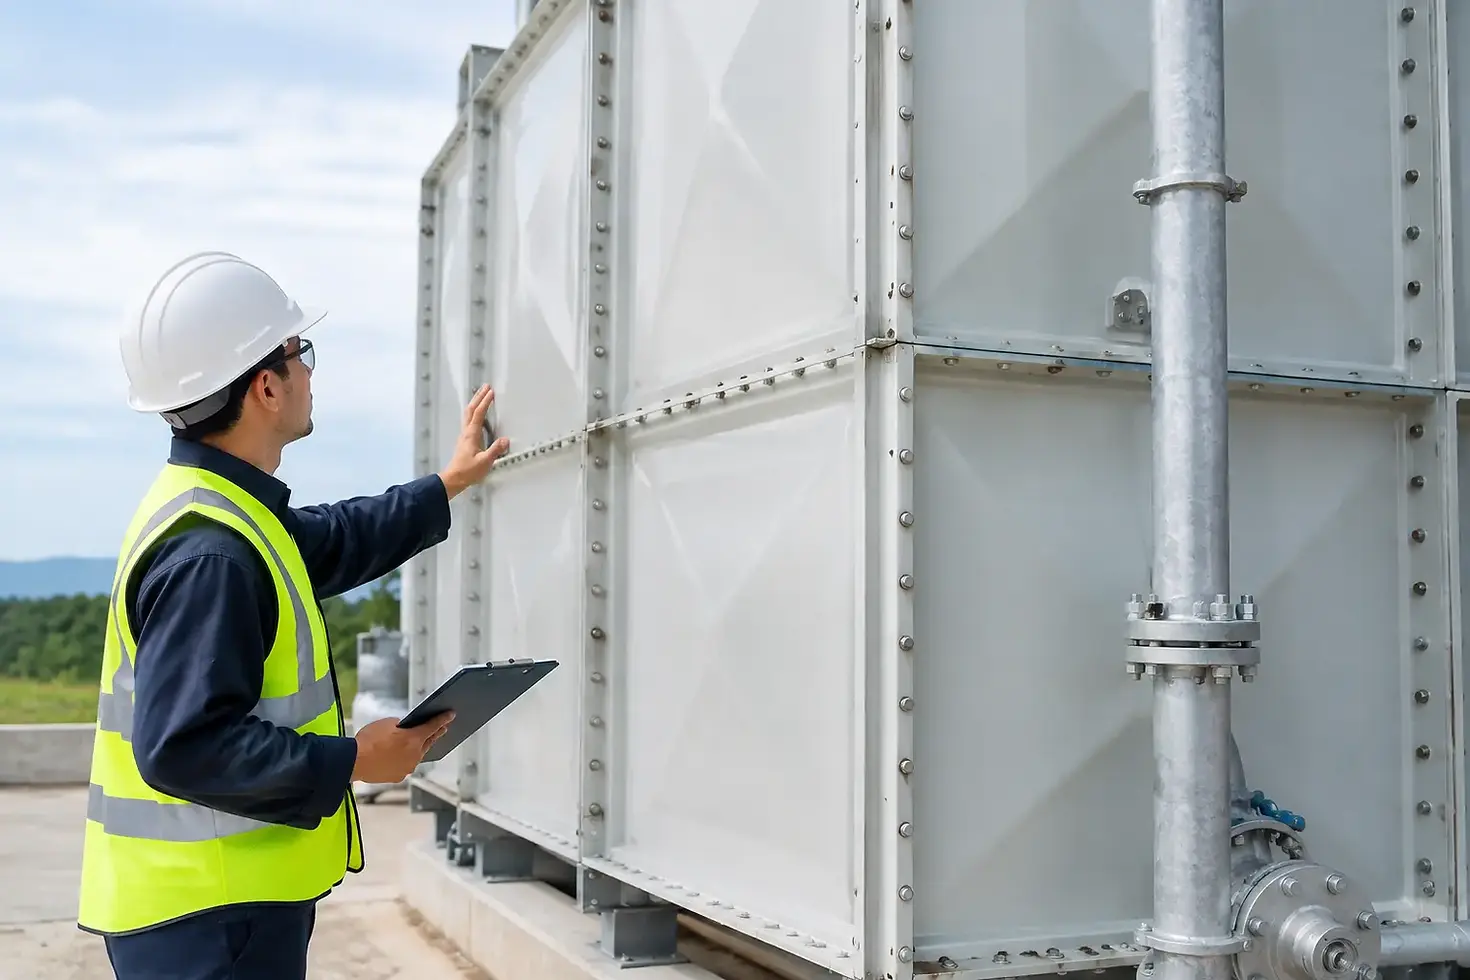
How to Inspect GRP Panels on Sprinkler Tanks
A small crack at a GRP panel joint can become a serious sprinkler tank issue long before water is visible outside the structure. Seepage may track behind joints, damaged fixings can compromise load transfer, and internal deterioration can remain hidden while the tank is still in service. Knowing how to inspect GRP panels properly helps responsible persons identify risk early, protect sprinkler water capacity and avoid unnecessary full tank replacement.
For commercial and industrial sites, a GRP panel inspection should not be treated as a cosmetic exercise. The tank is a life-safety asset. Its condition, available water volume and ability to support the sprinkler system may be reviewed by insurers, fire protection contractors and auditors. A planned, evidence-led inspection provides a sound basis for repair, refurbishment or replacement decisions.
Start with the tank's history and operating conditions
Before attending site, establish what is known about the tank. Confirm its age, manufacturer where available, panel construction, dimensions, previous repair history and whether it has been relined or coated. Records of leaks, low-level alarms, water treatment, roof repairs and previous inspections can reveal recurring faults that deserve close attention.
The operating environment matters. External GRP panels on a tank exposed to direct sunlight, coastal air, industrial emissions or repeated temperature changes will age differently from panels protected within a plant room. Tanks located near vehicle routes can be vulnerable to accidental impact. A roof leak may also allow water to run down the outside of the tank, creating staining that can be mistaken for a panel joint failure.
Review the tank's required duty at the same time. The acceptable course of action depends on sprinkler system design, site fire strategy, insurer expectations and the availability of alternative water supplies. Repairs that appear minor on a non-critical water tank may need more controlled planning on a dedicated sprinkler tank.
How to inspect GRP panels externally
An external survey is normally the first practical stage. It should be completed from safe, suitable access, with attention given to the full panel elevation rather than only the area where a leak has been reported. Low-level access housing, platforms and ladders must be assessed for suitability before work starts. Do not rely on improvised access or attempt to inspect high-level panels from unsafe positions.
Begin by looking for changes to the panel surface. GRP panels can show fading, chalking or superficial weathering with age, and this does not automatically mean their structural performance has been lost. More concerning signs include crazing, deep cracking, impact damage, local distortion, delamination or exposed glass fibres. These defects can indicate that the panel is no longer distributing loads as intended or that its weather-resistant surface has broken down.
Inspect horizontal and vertical joints closely. Look for staining, white mineral deposits, dampness, algae growth or a consistent line of dirt around a joint. These can point to slow water escape. Check whether joint covers, sealant or external reinforcement from past repairs are intact. A patch may be entirely serviceable, but lifting edges, cracking or poor adhesion should be investigated rather than assumed to be cosmetic.
Panel alignment is also significant. Bulging, bowing or a change in the plane of one panel relative to its neighbours may suggest over-tightened or degraded bolts, failed joint material, inadequate support, settlement or movement within the tank structure. The area around pipe penetrations, flanges, overflow connections and level control equipment requires particular care because cut-outs create local stress concentrations.
Check bolts, washers and support interfaces
GRP panels work as part of a bolted sectional system. Inspect accessible bolts, nuts and washers for corrosion, loss of section, incorrect replacement components, loose fixings or signs of weeping around bolt positions. Rust staining may originate from a corroding washer or bolt, but it can also indicate moisture retained within the joint.
Do not simply re-tighten suspect bolts during an inspection. Excessive torque can damage GRP, deform washers and worsen a leaking joint. Any intervention should follow the tank manufacturer's requirements where known, or a specialist engineered repair method where they are not.
Examine the tank base perimeter and supporting foundation. Cracks in the concrete plinth, uneven bearing, damaged levelling grout or evidence of settlement can place stresses into the panel assembly. A panel leak is sometimes the visible symptom of a support issue, not the root cause.
Inspect the roof and internal steelwork as part of the survey
The condition of GRP wall panels cannot be assessed in isolation. Roof sheets, covers, purlins, stays and associated steelwork affect the loads applied to the tank. A deteriorated roof can admit debris and rainwater, compromise water quality, or expose internal components to accelerated corrosion.
From a safe external viewpoint, check for fractured roof sections, ponding, open laps, failed seals, damaged access hatches and missing fixings. Where internal purlins or stays are accessible and the tank entry arrangements are controlled, inspect for corrosion, distortion and failed connections. Internal members that have lost their protective coating or section can affect both roof support and wall stability.
Any inspection requiring entry into a sprinkler tank needs a formal safe system of work. This includes isolation and impairment planning, confined-space assessment where applicable, rescue arrangements, hygiene controls and coordination with the party responsible for the fire protection system. The tank must not be drained or taken out of service without considering the effect on fire cover.
Use internal inspection to confirm the true condition
External observations can identify likely defects, but internal inspection often confirms their cause and extent. Traditionally this meant draining the tank and arranging man-entry inspection. That approach can be appropriate where major refurbishment is already planned, where internal cleaning is required or where the tank must be emptied for other reasons. It does, however, create operational disruption and may require temporary fire protection measures.
A no-drain ROV inspection can provide a safer and less disruptive alternative for many investigations. A remotely operated vehicle can examine submerged panel faces, floor joints, liner condition, sediment levels, internal bolts and areas around suction arrangements while the tank remains in service. Video evidence enables defects to be recorded, reviewed and prioritised without automatically removing the sprinkler water supply.
There are limits. Poor water clarity, restricted geometry or significant debris may reduce what an ROV can see. It is a valuable diagnostic tool, not a substitute for physical repair access where a defect has been confirmed. The right inspection method depends on the suspected fault, tank configuration and the site's tolerance for impairment.
Pay attention to linings and concealed leakage paths
Where a GRP tank has an EPDM liner, inspect visible liner surfaces for folds, punctures, abrasion, loose terminations and damage around penetrations. A liner may retain water even where the underlying panel joints have deteriorated, so the tank can appear watertight while structural defects continue behind it. Conversely, water found outside a tank with a liner may be entering through the roof, an overflow or pipework rather than escaping through the panel assembly.
This is why a professional inspection should record observations rather than jump straight to a repair type. Panel replacement, local fibreglass repair, joint remediation, liner renewal, epoxy coating and structural refurbishment solve different problems. Selecting the least disruptive option is sensible only when it addresses the underlying cause.
Record defects in a form that supports decisions
A useful inspection report should identify each defect by location, panel reference and elevation, supported by clear photographs or ROV footage. It should distinguish between observations, likely causes and recommendations. This allows facilities teams to understand whether an issue needs immediate action, planned maintenance or monitoring at the next inspection interval.
Priority should reflect the consequence to the sprinkler water supply. Active leakage, panel distortion, significant cracking, corrosion affecting structural connections and roof failure may require urgent engineering assessment. Surface weathering without loss of integrity may be suitable for planned monitoring. Insurers and fire protection stakeholders are more likely to accept a risk-based plan when it is supported by dated condition evidence and a defined repair scope.
Nationwide Water Solutions Ltd carries out specialist sprinkler tank surveys, including no-drain ROV inspections, to establish the condition of GRP sectional tanks without assuming replacement is the only answer. Where remedial work is needed, a targeted refurbishment can often extend service life while controlling cost and protecting site fire resilience.
The most valuable inspection is one completed before a minor panel defect becomes an emergency impairment. Build GRP panel condition into the tank maintenance programme, retain the evidence, and act on changes while repair options remain practical.


Comments